“As an Amazon Associate, I earn from qualifying purchases. This means that if you click on a link and make a purchase, I may receive a small commission at no extra cost to you.”
When it comes to moving house, packing the kitchen is universally considered the hardest and most time-consuming task. Unlike a bedroom or living room where you mostly pack soft clothes or sturdy books, your kitchen is packed with heavy, oddly shaped, and incredibly fragile items.
From expensive porcelain plates and delicate wine glasses to sharp knives and heavy pots, one wrong move inside the truck can result in a box full of shattered glass.
If you want to ensure your kitchenware arrives at your new property in one piece, you need a smart strategy and specialized packing supplies. Here is a step-by-step guide on how to pack a kitchen for moving safely, along with the essential gear to protect your valuables.
Step 1: Purge and Declutter First
Before you wrap a single plate, go through your cabinets. Kitchens accumulate a lot of clutter over the years. Donate duplicate plastic containers, sell appliances you haven’t used in a year, and throw away expired pantry items. Moving less weight will save you both time and money.
Step 2: Use Specialized Packing Gear
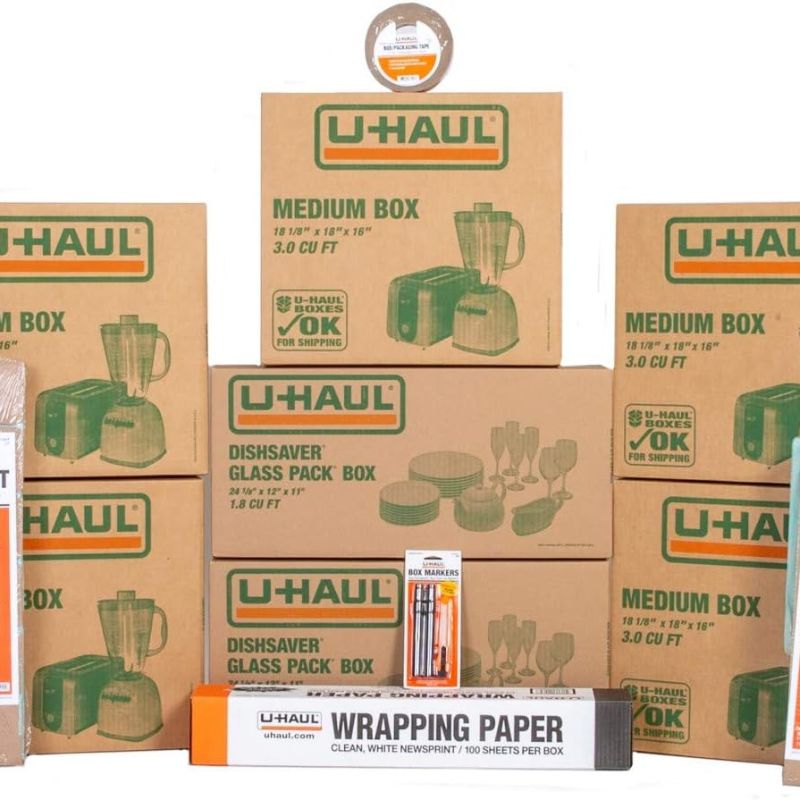
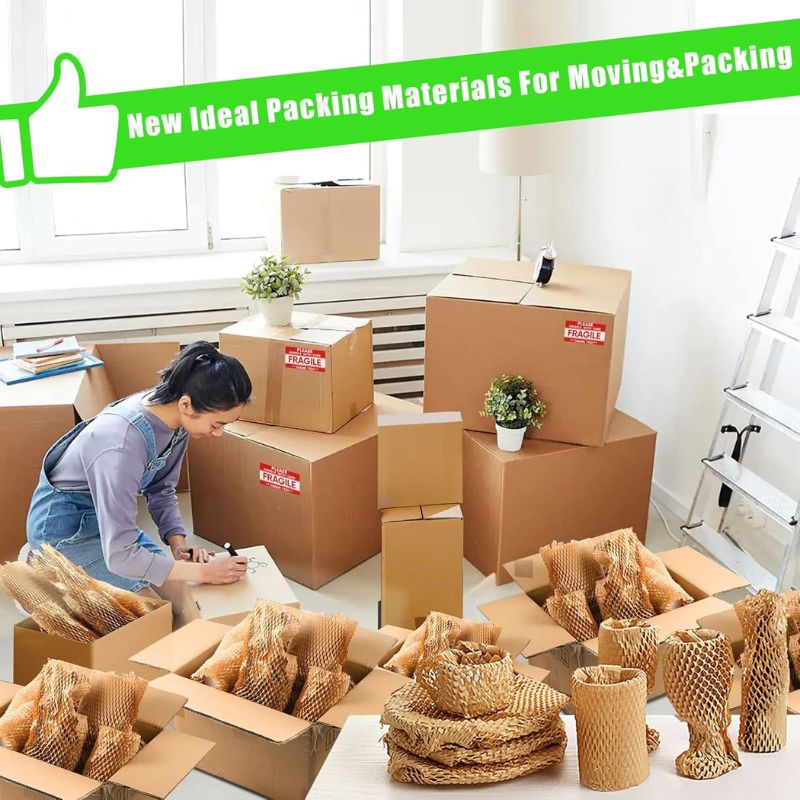
Standard cardboard boxes and old newspapers are rarely enough to protect delicate glassware and heavy dishes. To prevent scratches and breakage, invest in these 4 professional packing essentials:
1. Heavy-Duty Dish Packing Kits
Placing plates flat on top of each other creates pressure and often leads to cracks during transit. Professional dish packing kits come with thick cellular cardboard partitions that keep your plates, bowls, and saucers standing vertically, the safest way to transport them.
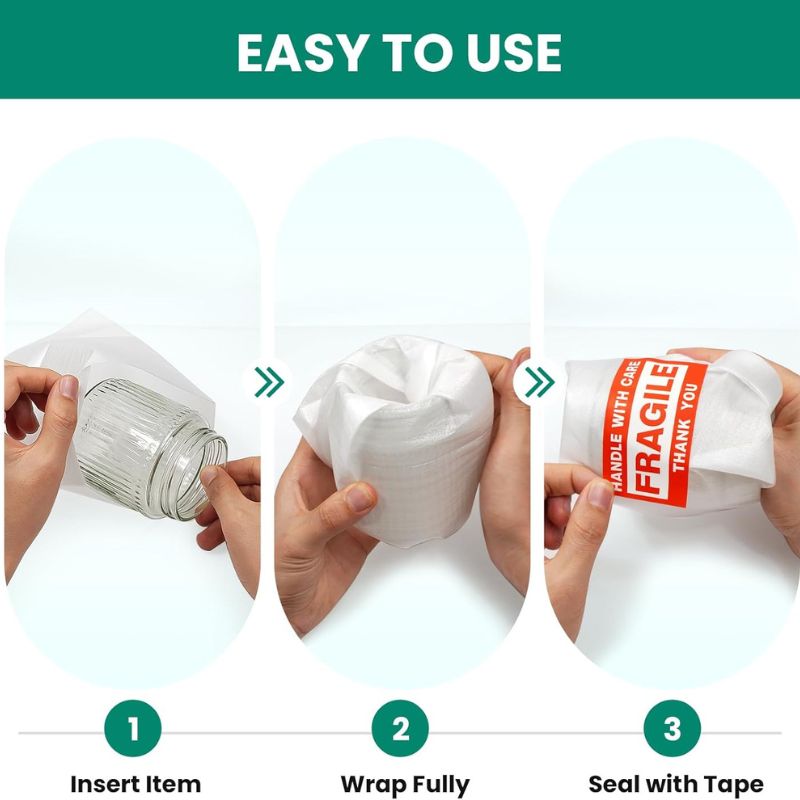
2. Protective Foam Pouches for Plates & Cups
Wrapping every single cup and saucer in packing paper can take hours. Protective foam pouches are a brilliant shortcut. You simply slide each dish or glass into its own padded sleeve, providing instant shock absorption and scratch protection without the mess of crumpled paper.
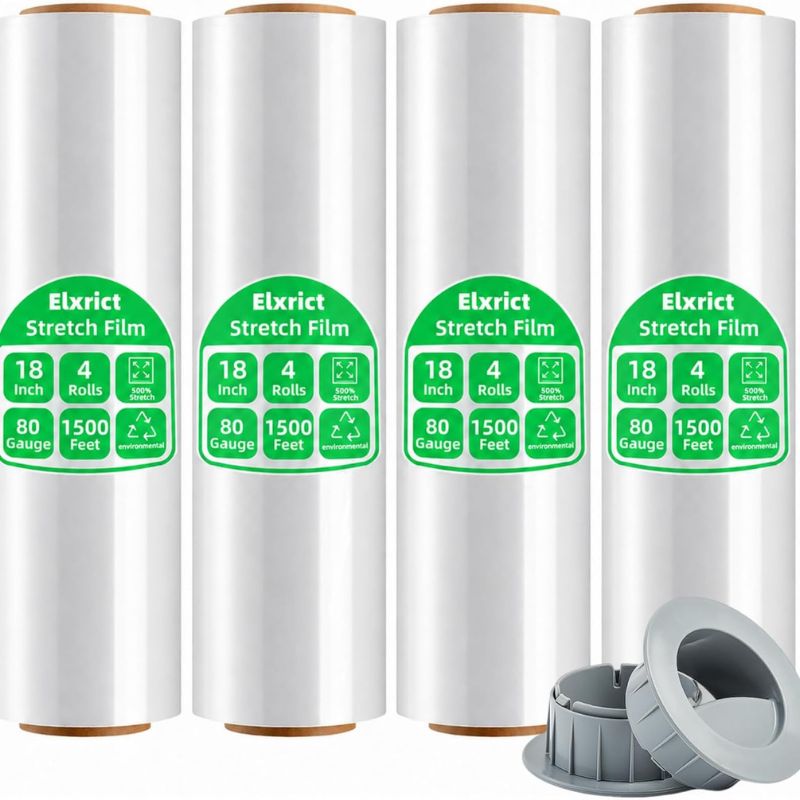
3. Industrial Plastic Stretch Wrap Film
Movers use stretch wrap for a reason. It is perfect for wrapping around utensil organizers, spice racks, or small plastic drawer units so their contents stay securely inside without needing to be emptied. You can also use it to bundle heavy pots and lids together so they don’t rattle and dent each other inside the box.
4. Thick Bubble Wrap & Packing Paper Combo
For oddly shaped appliances like blenders, coffee makers, and stand mixers, you need a generous amount of padding. Wrap the appliance in thick bubble wrap, and use crumpled packing paper to fill any empty spaces or gaps inside the box. If a box has empty space, items will shift and break.
Step 3: Packing Day Strategy
Pack Heavy Items First: Always place your heaviest pots and pans at the bottom of the box, and place lighter, more fragile items on top.
The Shake Test: Once a kitchen box is packed, gently shake it. If you hear anything shifting, rattling, or clicking, open it up and add more packing paper to fill the voids.
Label as “FRAGILE”: Use a thick black marker to clearly write “FRAGILE – KITCHEN” on at least three sides of the box so the movers know to handle it with extra care.
Final Thoughts
Packing a kitchen takes patience, but taking the extra time to use proper dish dividers, foam pouches, and high-quality wraps will save you the heartbreak of unpacking broken heirlooms at your new home. Pack smart, protect your glass, and take it one cabinet at a time!